✅ How to Set Custom DNS in the Starlink App
-
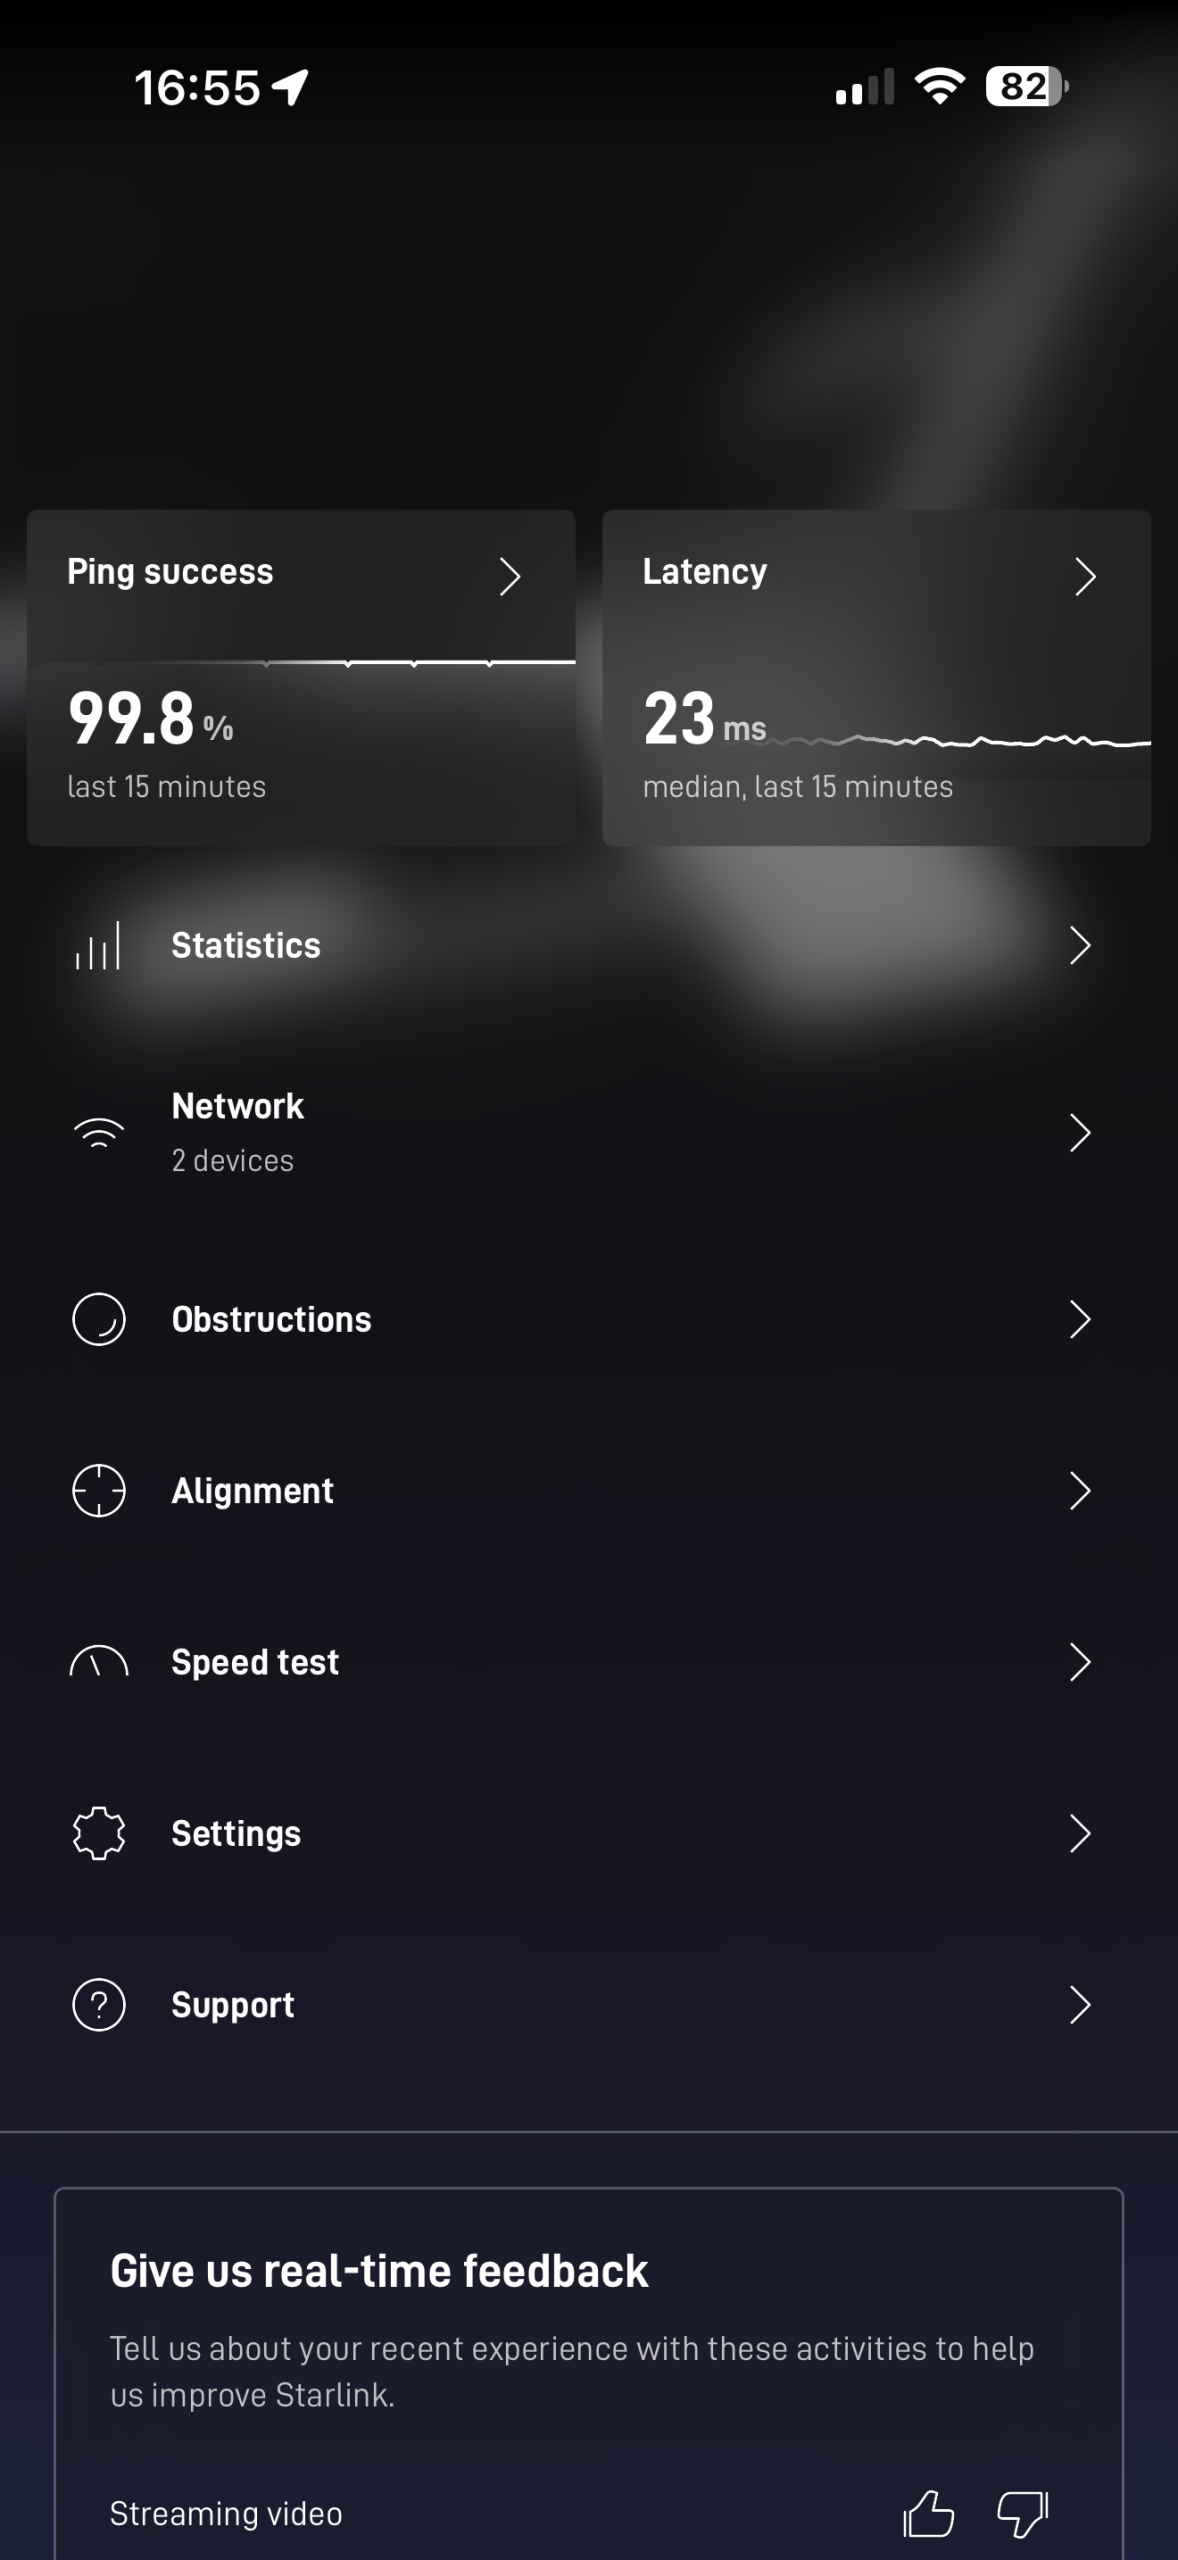
Open the Starlink App on your smartphone or tablet.
-
Navigate to the Settings tab.
-
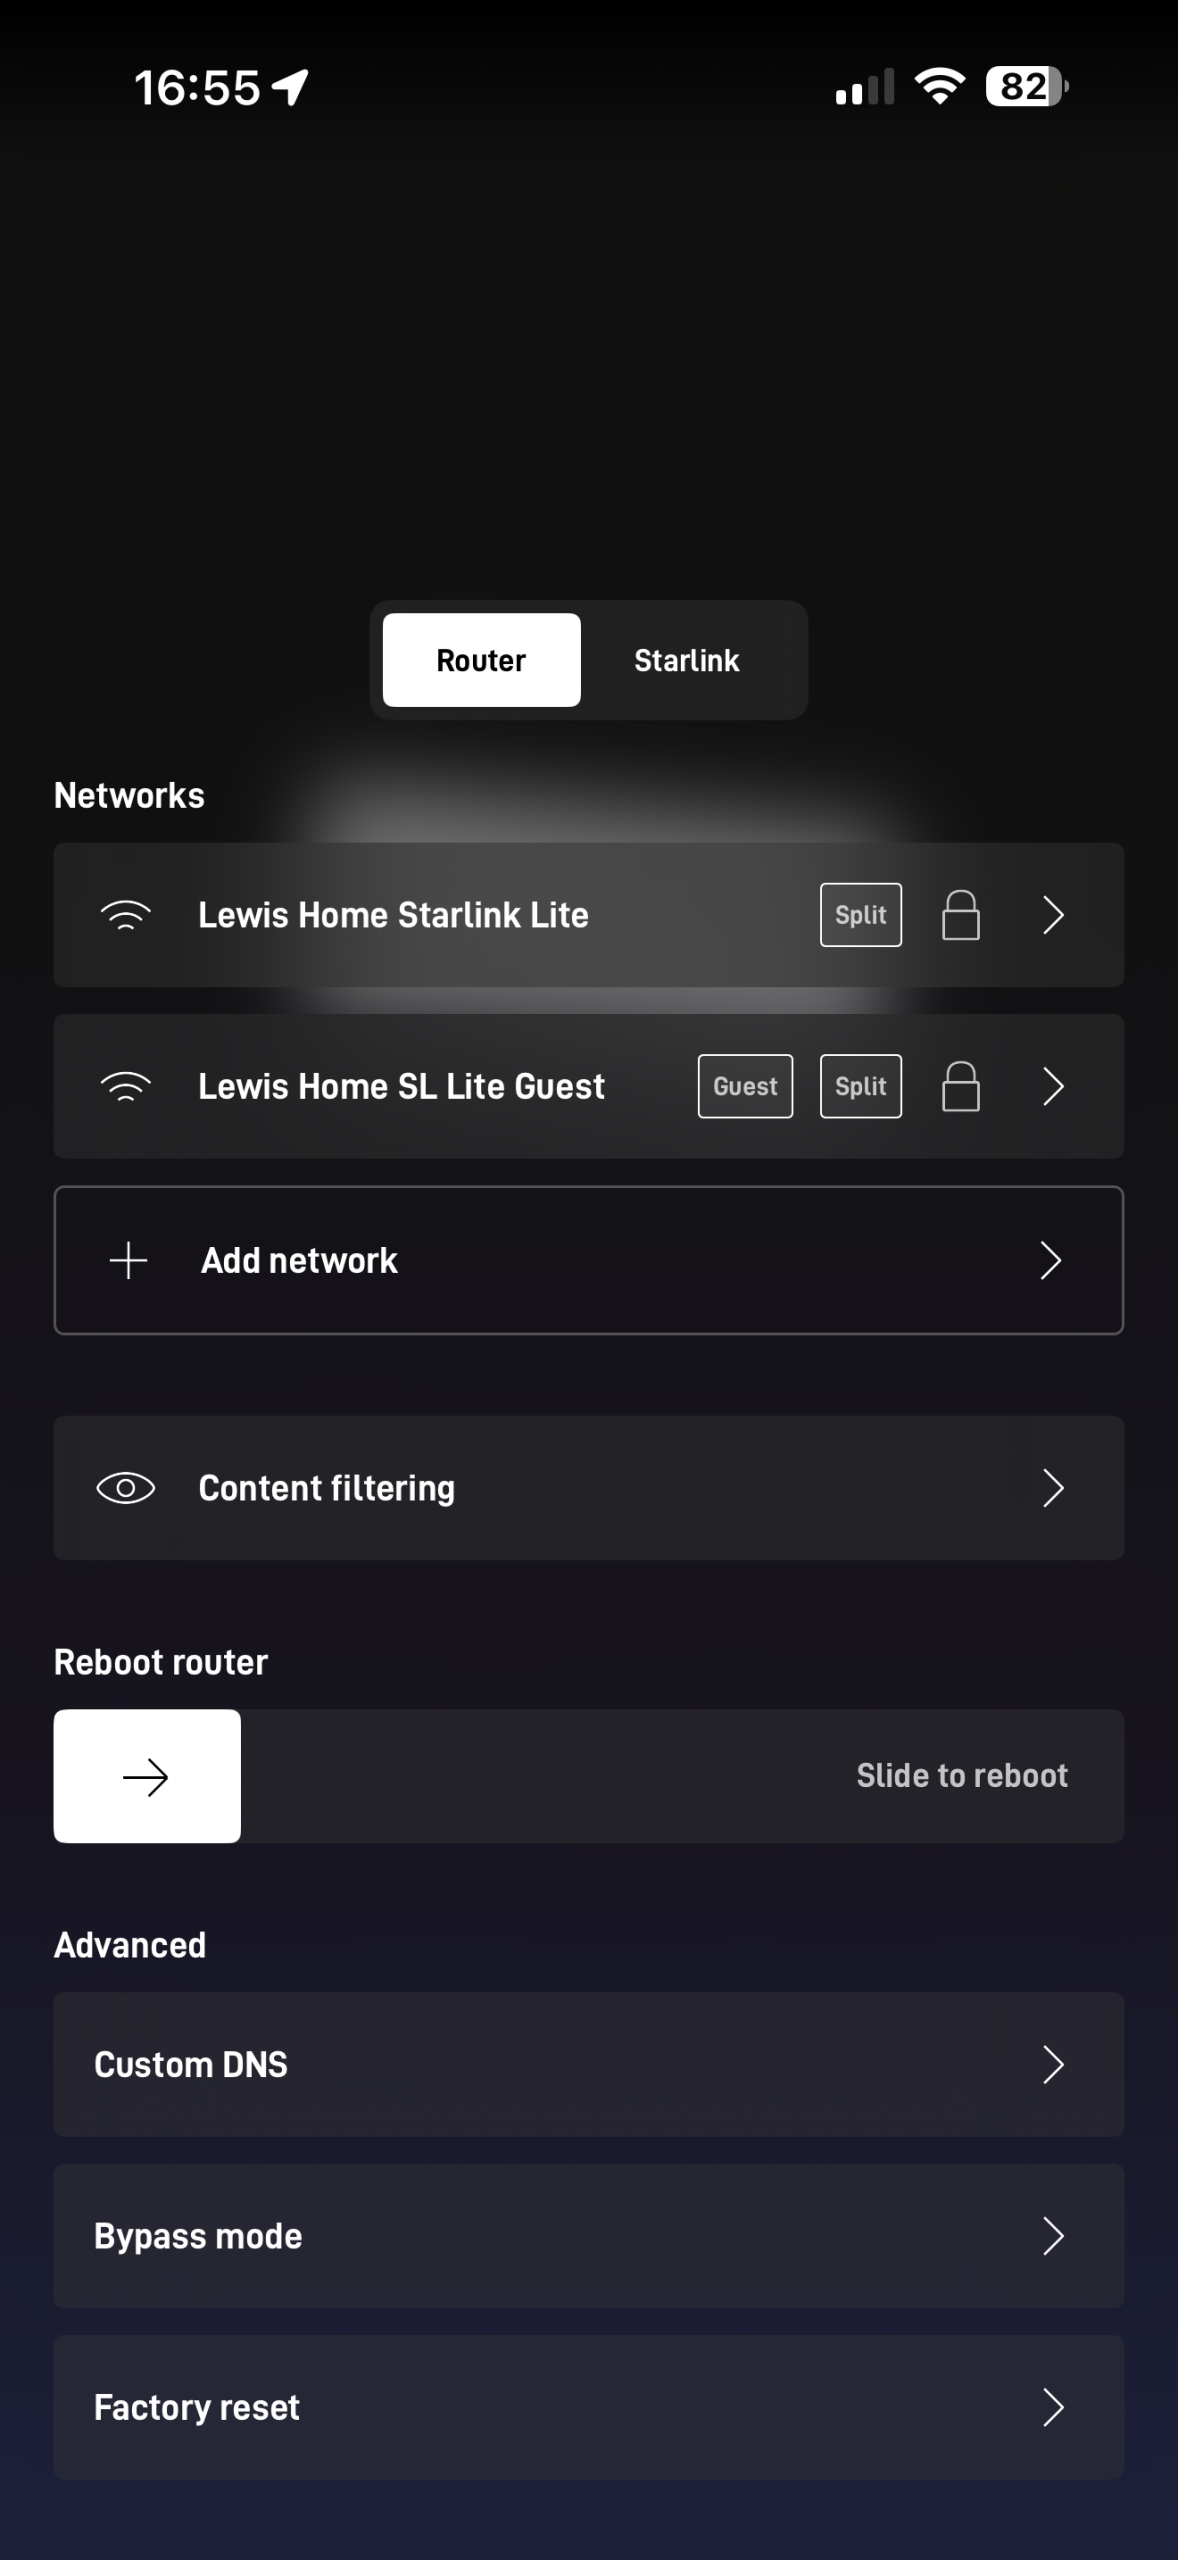
Tap on Router to access router-specific settings.
-
Scroll down and select Advanced settings.
-
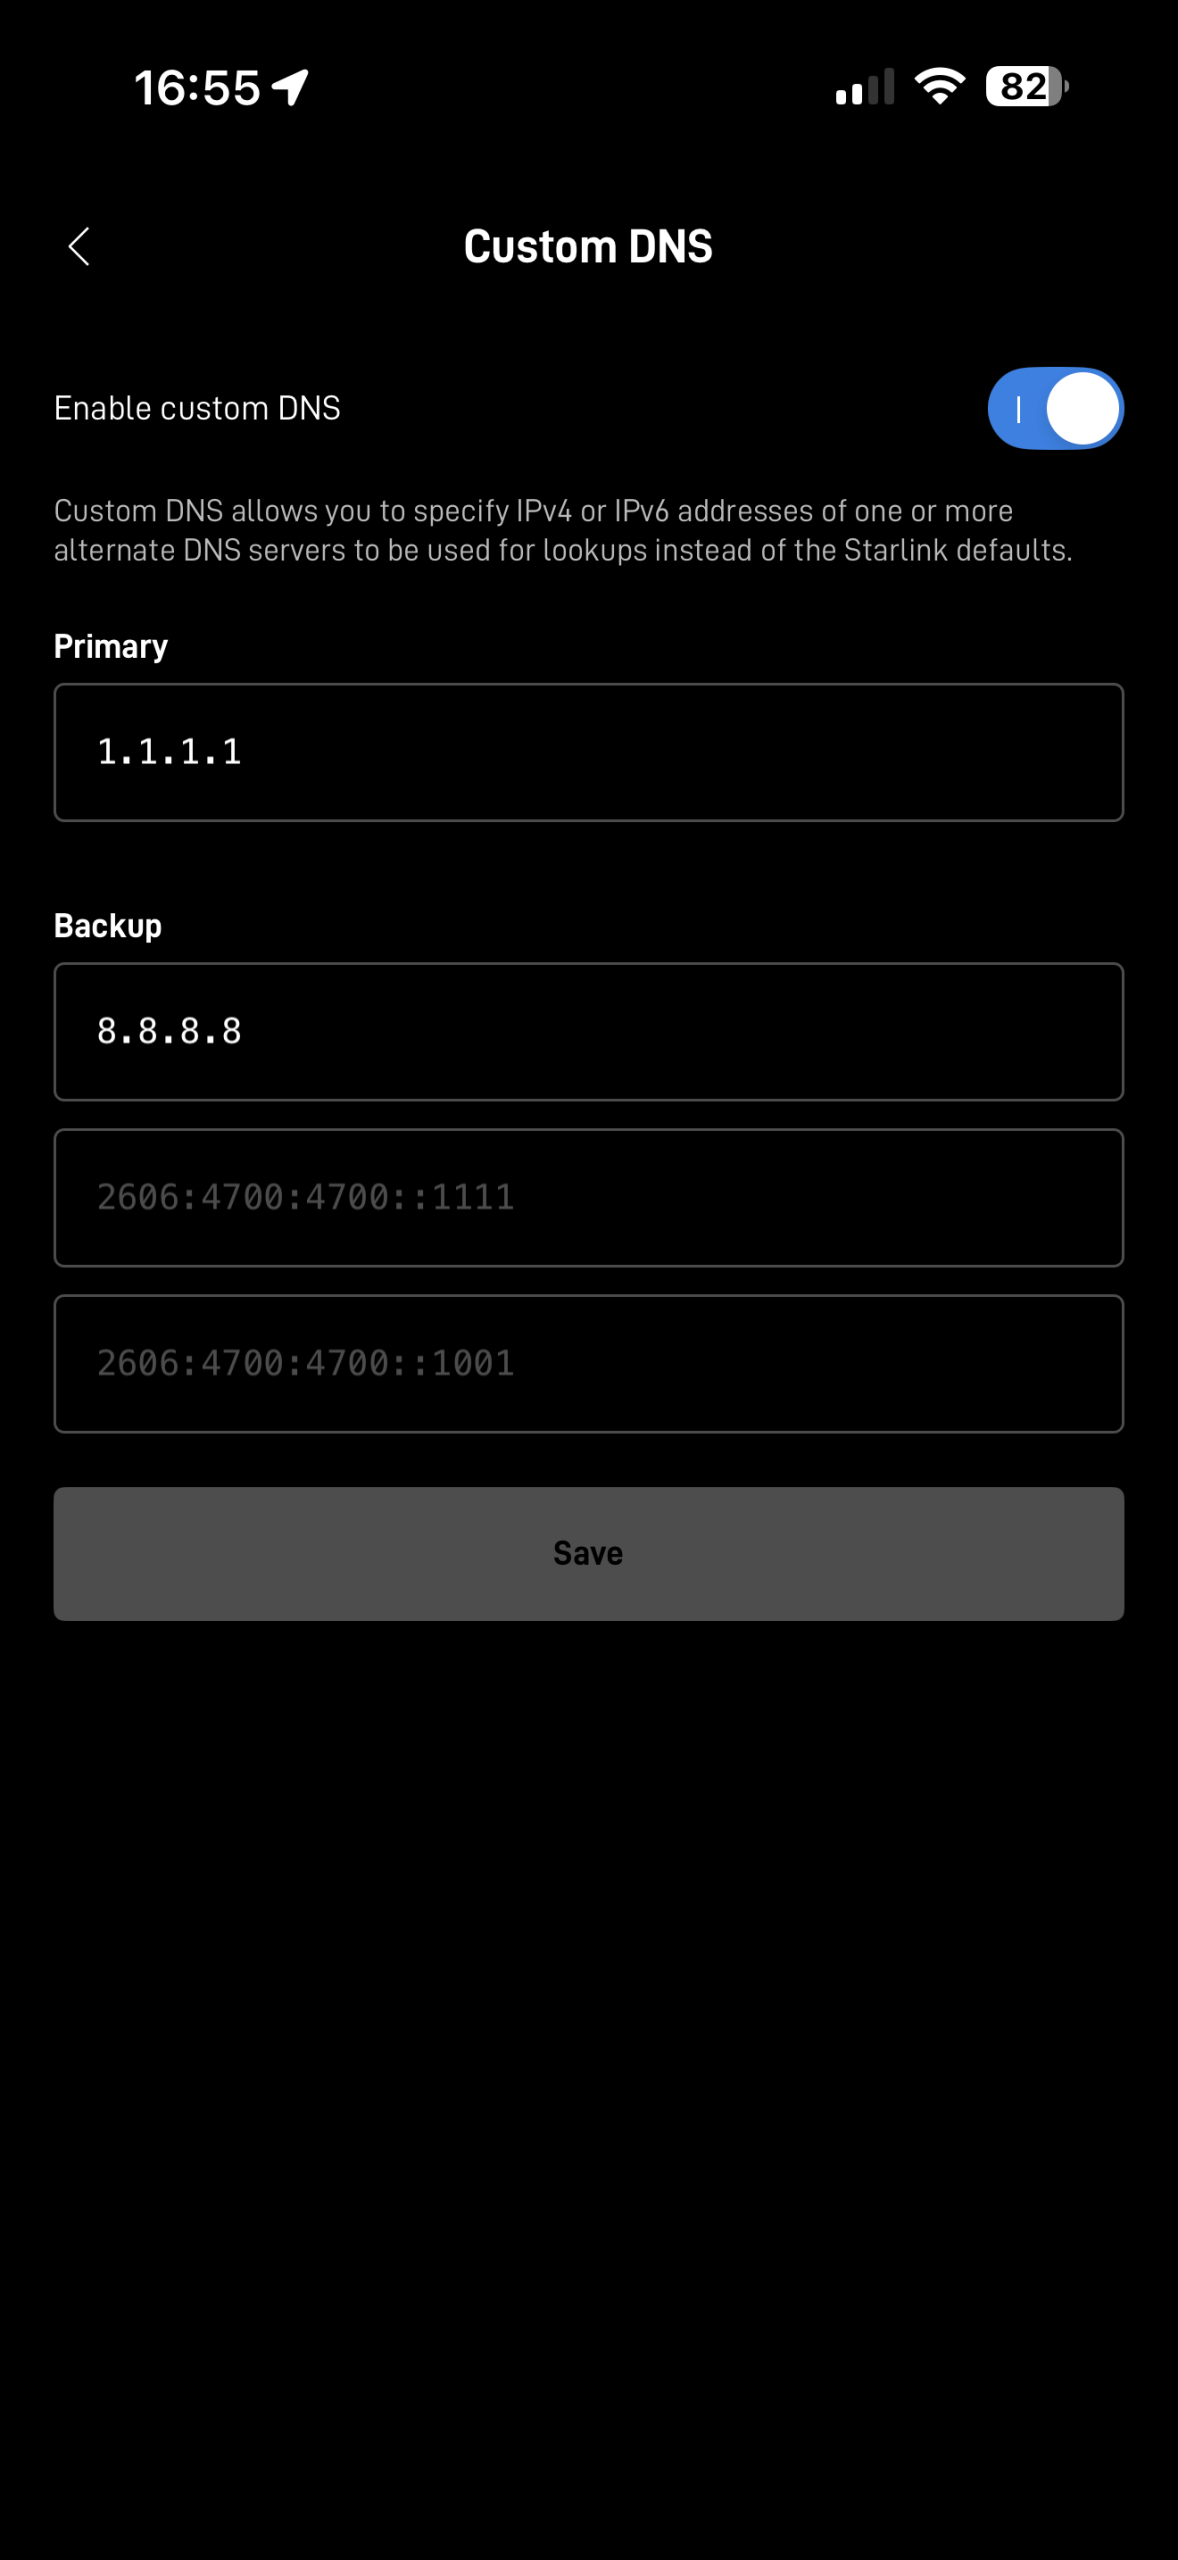
Toggle on Custom DNS to enable manual DNS configuration.
-
Enter your preferred DNS servers:
-
Primary DNS:
1.1.1.1(Cloudflare) -
Secondary DNS:
8.8.8.8(Google)
-
-
Save your settings.
Your Starlink router will now use the specified DNS servers for all devices connected to your network. However, if you have custom DNS set on your device, that will take priority. In most cases, devices are set to automatic and will use whatever is set via the Starlink Router.